


How to Create DTF Transfers: A Comprehensive Guide
DTF (Direct to Film) printing is a revolutionary technology that allows you to print high-quality, durable designs on various textiles. This process is becoming increasingly popular in the custom apparel industry because it offers vibrant colors, strong adhesion, and compatibility with a wide range of fabrics. In this guide, we’ll walk you through how to create a DTF transfer step by step.
1. What is DTF Printing?
How To Create DTF Transfer is a method where designs are printed on a special film, covered with adhesive powder, and then transferred onto fabric using a heat press. Unlike traditional screen printing or DTG (Direct to Garment) printing, DTF works on various materials, including cotton, polyester, blends, and even leather.
Advantages of DTF Printing
- Versatility: Works on multiple fabric types.
- Durability: Transfers are long-lasting and washable.
- Cost-Effective: Requires less ink compared to DTG.
- No Pre-Treatment Needed: Unlike DTG printing, no pre-treatment is required.
2. What Do You Need to How To Create DTF Transfer?
Before starting, make sure you have the following essential supplies:
Required Equipment and Materials
- DTF Printer: A modified inkjet printer designed for DTF.
- DTF Film: A special transparent PET (polyethylene terephthalate) film.
- DTF Inks: Water-based pigmented inks (CMYK + White).
- Adhesive Powder: A fine powder that helps the ink bond to the fabric.
- Heat Press: Used to transfer the design onto fabric.
- Software: RIP (Raster Image Processor) software for color management and layout.
3. Step-by-Step Guide to Creating a DTF Transfer
Design Preparation
- Create Your Design: Use graphic design software like Adobe Photoshop, Illustrator, or CorelDRAW.
- Use High Resolution: Ensure your design is at least 300 DPI for a crisp print.
- Mirror the Image: Since DTF prints are transferred, the design should be mirrored before printing.
- Prepare for White Ink: Make sure the design includes a white underbase layer for opacity.
Printing on DTF Film
- Load the Film: Insert the DTF film into the printer with the coated side facing up.
- Use the Right Color Sequence: First, the printer lays down CMYK ink, followed by a white ink layer.
- Optimize Ink Settings: Adjust the ink density in the RIP software for vibrant colors.
Step 3: Applying the Adhesive Powder
- Sprinkle Adhesive Powder: While the ink is still wet, evenly coat the printed design with DTF adhesive powder.
- Shake Off Excess Powder: Ensure only a thin layer remains on the print.
- Cure the Powder: Use a heat press or an oven to melt and activate the adhesive.
Transferring the Design
- Preheat the Fabric: Press the fabric for 5 seconds to remove moisture.
- Place the Transfer: Position the DTF film (ink-side down) onto the fabric.
- Apply Heat: Set your heat press to 320°F (160°C) for 15 seconds with medium pressure.
- Peel the Film: Wait for the print to cool before peeling the film off.
Post-Pressing for Durability
-
- Re-Press the Design: Cover the design with parchment paper and press for another 5-10 seconds for better adhesion.
- Let It Cool: Allow the garment to rest before packaging.
4. Best Practices for High-Quality DTF Transfers
- Use High-Quality Ink and Film: Cheap materials can cause cracks and dull colors.
- Optimize Print Settings: Adjust ink flow and color profiles in your RIP software.
- Even Powder Distribution: Uneven adhesive powder can lead to poor adhesion.
- Store Transfers Properly: Keep DTF sheets in a dry environment to prevent moisture damage.
5. Troubleshooting Common DTF Printing Issues
| Issue | Possible Cause | Solution |
|---|---|---|
| Faded Colors | Low ink density | Adjust ink settings in RIP software |
| Ink Smudging | Too much ink or wet print | Reduce ink flow and let print dry |
| Poor Adhesion | Uneven powder application | Ensure even powder coating and curing |
| Film Not Peeling Off | Low heat press temperature | Increase temperature to 320°F |
7. External Resources for Learning More
- Eagle DTF Print Guide – Step-by-step tutorials and supplies.
- DTF Printing Forums – Community discussions and troubleshooting tips.
-
YouTube Tutorials – Visual guides to mastering DTF printing.
8. Conclusion
How To Create DTF Transfer is an excellent way to produce high-quality prints for apparel and accessories. By following the right process, using quality materials, and optimizing your print settings, you can achieve durable and vibrant results. Whether you're a beginner or an experienced print shop owner, DTF printing is a powerful technology that can help expand your customization business.
Would you like help choosing the best How To Create DTF Transfer or software? Let me know! 🚀
Let customers speak for us
Thrilled to find eagle print
Always impressed with how fast they're printed and the quality.
Aisling Stompor

Build Your DTF Gang Sheet
High quality DTF tags, just make sure to specify your exact dimensions in the notes otherwise it will stretch your artwork
Charlie Lilienthal
Eagle DTF Print
Great experience overall
Great experience overall. The UV DTF gang sheet quality was spot on, prints were clean and vibrant, and everything matched my expectations. Fast turnaround and easy process. I’ll definitely be coming back for more.sposób.
Sebastian @Rapid Truck Signs
Sebastian Waalczak

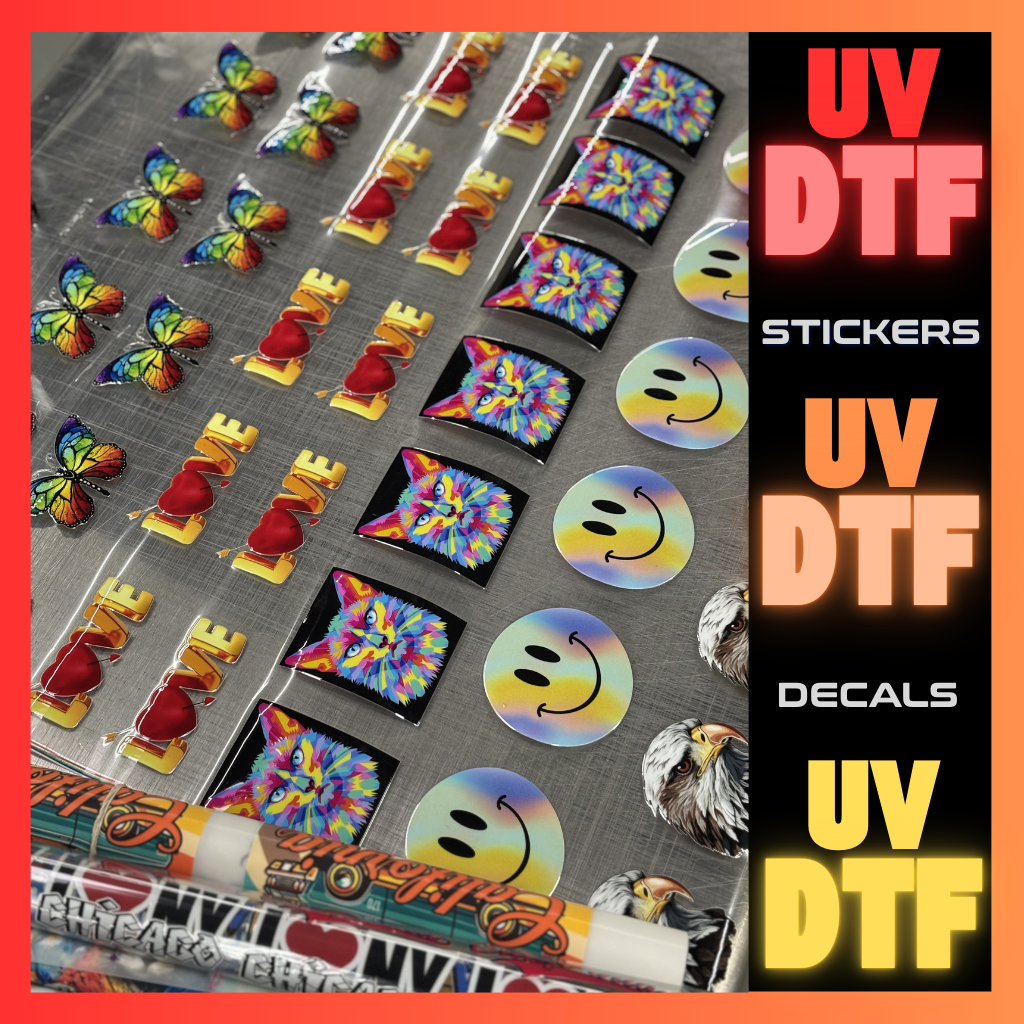
BUILD YOUR UV DTF STICKER GANG SHEET
Loved my gang sheet! Great quality
Loved my gang sheet! Great quality, everything I could ask for!
T.C. Carruthers
Build Your DTF Gang Sheet
Amazing service
I could not be more impressed with the customer service and super fast turnaround. I would definitely order from Eagle again.
Mark

DTF Transfer By Size
Hello I love the quality and the speedy
Hello I love the quality and the speedy response!
Rochelle Harper
Build Your DTF Gang Sheet
Great quality
Great quality, quick shipping, and unbeatable prices!
Junie Modlin

Upload Your DTF Gang Sheet
Loved
Loved the quality. It was also ready for pickup so quick
Evalydi Rodriguez
BUILD YOUR UV DTF STICKER GANG SHEET