


🎨 Heat Press DTF Transfer – A Complete Guide for Quality Apparel Printing
If you’re searching for Heat Press DTF Transfer guidance, this comprehensive article will help you apply vibrant, durable designs efficiently. Whether you’re a small business or a hobbyist, mastering the correct settings and workflow is essential.
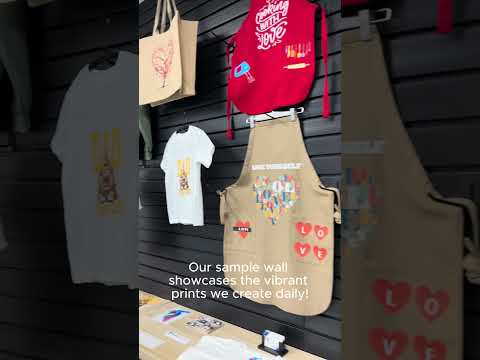
DTF (Direct-to-Film) printing involves printing your design on special film and pressing it onto fabric using heat and pressure. This technique offers great adhesion, wash durability, and versatility across fabrics.
📘 Learn more about this method on Wikipedia.
🌡️ Why Proper Heat Press Settings Matter
Applying the correct temperature, time, and pressure ensures optimal adhesion and vibrant colors. DTF transfers are highly sensitive to these settings. If you skip these steps, the design might peel, fade, or damage the fabric.
Getting the settings wrong can lead to frustrating results like bubbling, cracking, or incomplete transfers. With so much effort put into the design and printing stage, it's important to ensure that the final step — pressing — is handled with care.
🧰 Heat Press Settings Breakdown
🔧 Temperature Guides
-
Cotton fabrics: 320–350 °F (160–175 °C) ensures strong transfer bonding.
-
Synthetic fabrics (polyester, blends): 280–300 °F (140–150 °C) to prevent scorching.
-
Special fabrics (nylon, leather): Lower range, around 275–285 °F, with light pressure.
Getting the fabric type right helps prevent heat damage and ensures strong adhesion. Always check fabric labels and test on a spare piece when working with new materials.
⏳ Pressing Time
Press for 12–15 seconds using consistent pressure and heat for best adhesion and wash durability.
If the time is too short, the transfer may not fully bond. Too long, and you risk scorching the film or fabric.
⚖️ Pressure Levels
Use medium to firm pressure (around 40–50 psi).
-
Low pressure may cause incomplete transfers
-
High pressure might leave unwanted marks or crush garment textures
❄️ Peel Guidelines
-
Hot Peel: Peel the film immediately for a glossy finish
-
Cold Peel: Let it cool completely before peeling to enhance adhesion and durability
The peeling step is critical. Rushing a cold peel or waiting too long on a hot peel can both negatively impact results.
🧪 Step-by-Step Heat Press Workflow
1. Pre‑Press the Fabric
Before placing your heat press DTF transfer, press the garment alone for 2–3 seconds. This removes moisture and wrinkles, giving the transfer a smooth surface to adhere to.
2. Apply the DTF Transfer
Position the transfer film on the garment with the printed side facing the fabric. Use a Teflon sheet or parchment paper to protect the print. Press using your heat press settings tailored to the fabric.
3. Peel the Film
Once pressed, peel according to the transfer type.
-
If it’s hot peel, do it immediately and carefully.
-
If it’s cold peel, let it cool fully before peeling back.
4. Post‑Press
This step is optional but highly recommended. Re-press with a cotton cloth or parchment paper for 1–2 seconds. This helps lock in the transfer and smooth out any edges.
🎯 Tips for Best Results
✅ Always run a test press when using new materials or equipment
✅ Ensure the heat press plate is clean and level
✅ Use high-quality PET film, adhesive powder, and DTF ink
✅ Adjust for fabric thickness and texture
✅ Store transfers in a cool, dry environment, away from sunlight and moisture
Following these tips consistently will help you maintain high quality across all your DTF projects.
🔗 Internal Resource
Looking for a trusted supplier for your DTF printing needs? Visit Eagle DTF Print for high-quality products, intuitive layout tools, and expert customer support. Whether you're just starting or expanding, they provide resources and materials tailored to heat press DTF workflows.
🔥 Advanced Tips for Pro-Level Heat Press Transfers
If you're looking to take things a step further, consider these additional pro tips:
-
Use heat-resistant tape to secure the film in place before pressing
-
Label your settings for each fabric type for future reference
-
Maintain consistent ambient room temperature during pressing
-
For highly detailed designs, apply a second post-press with a foam pad for extra flexibility and hold
💼 Who Should Use Heat Press DTF Transfers?
-
Custom t-shirt brands looking for fast, flexible production
-
Sports teams and clubs needing uniforms and spirit wear
-
Merch creators and influencers launching product lines
-
Print-on-demand businesses managing small orders with quick turnaround
DTF transfers offer speed, detail, and fabric versatility, making them ideal for modern apparel needs.
✅ Final Takeaway
Perfecting the DTF Transfer Heat Press process means understanding your heat press machine, fabric type, and DTF film behavior. With the right steps — from pre‑press to post‑press — you can achieve pro-level results that last through dozens of washes.
If you're looking for DTF sheets, application tools, or help setting up, visit Eagle DTF Print and explore expert solutions designed for heat press success.
Let customers speak for us
Thrilled to find eagle print
Always impressed with how fast they're printed and the quality.
Aisling Stompor

Build Your DTF Gang Sheet
High quality DTF tags, just make sure to specify your exact dimensions in the notes otherwise it will stretch your artwork
Charlie Lilienthal
Eagle DTF Print
Great experience overall
Great experience overall. The UV DTF gang sheet quality was spot on, prints were clean and vibrant, and everything matched my expectations. Fast turnaround and easy process. I’ll definitely be coming back for more.sposób.
Sebastian @Rapid Truck Signs
Sebastian Waalczak

BUILD YOUR UV DTF STICKER GANG SHEET
Loved my gang sheet! Great quality
Loved my gang sheet! Great quality, everything I could ask for!
T.C. Carruthers
Build Your DTF Gang Sheet
Amazing service
I could not be more impressed with the customer service and super fast turnaround. I would definitely order from Eagle again.
Mark

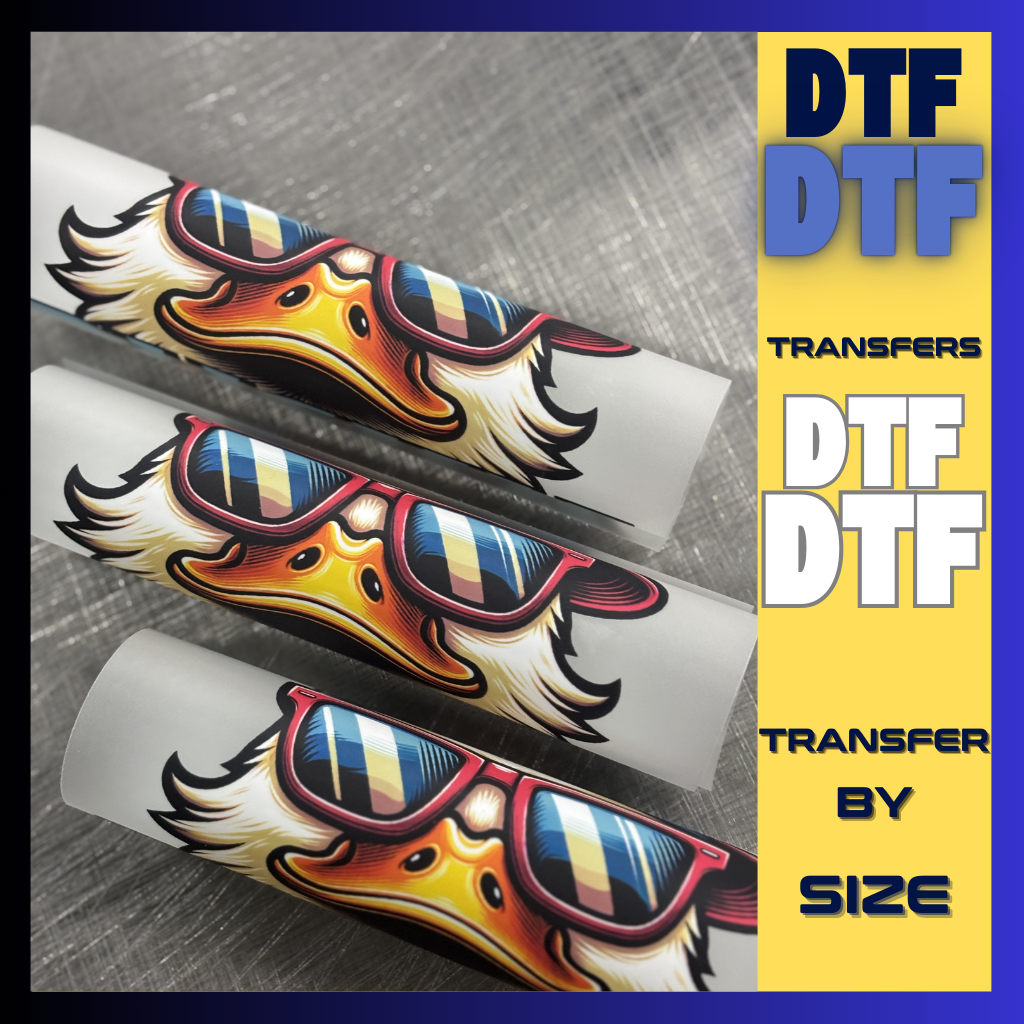
DTF Transfer By Size
Hello I love the quality and the speedy
Hello I love the quality and the speedy response!
Rochelle Harper
Build Your DTF Gang Sheet
Great quality
Great quality, quick shipping, and unbeatable prices!
Junie Modlin

Upload Your DTF Gang Sheet
Loved
Loved the quality. It was also ready for pickup so quick
Evalydi Rodriguez
BUILD YOUR UV DTF STICKER GANG SHEET