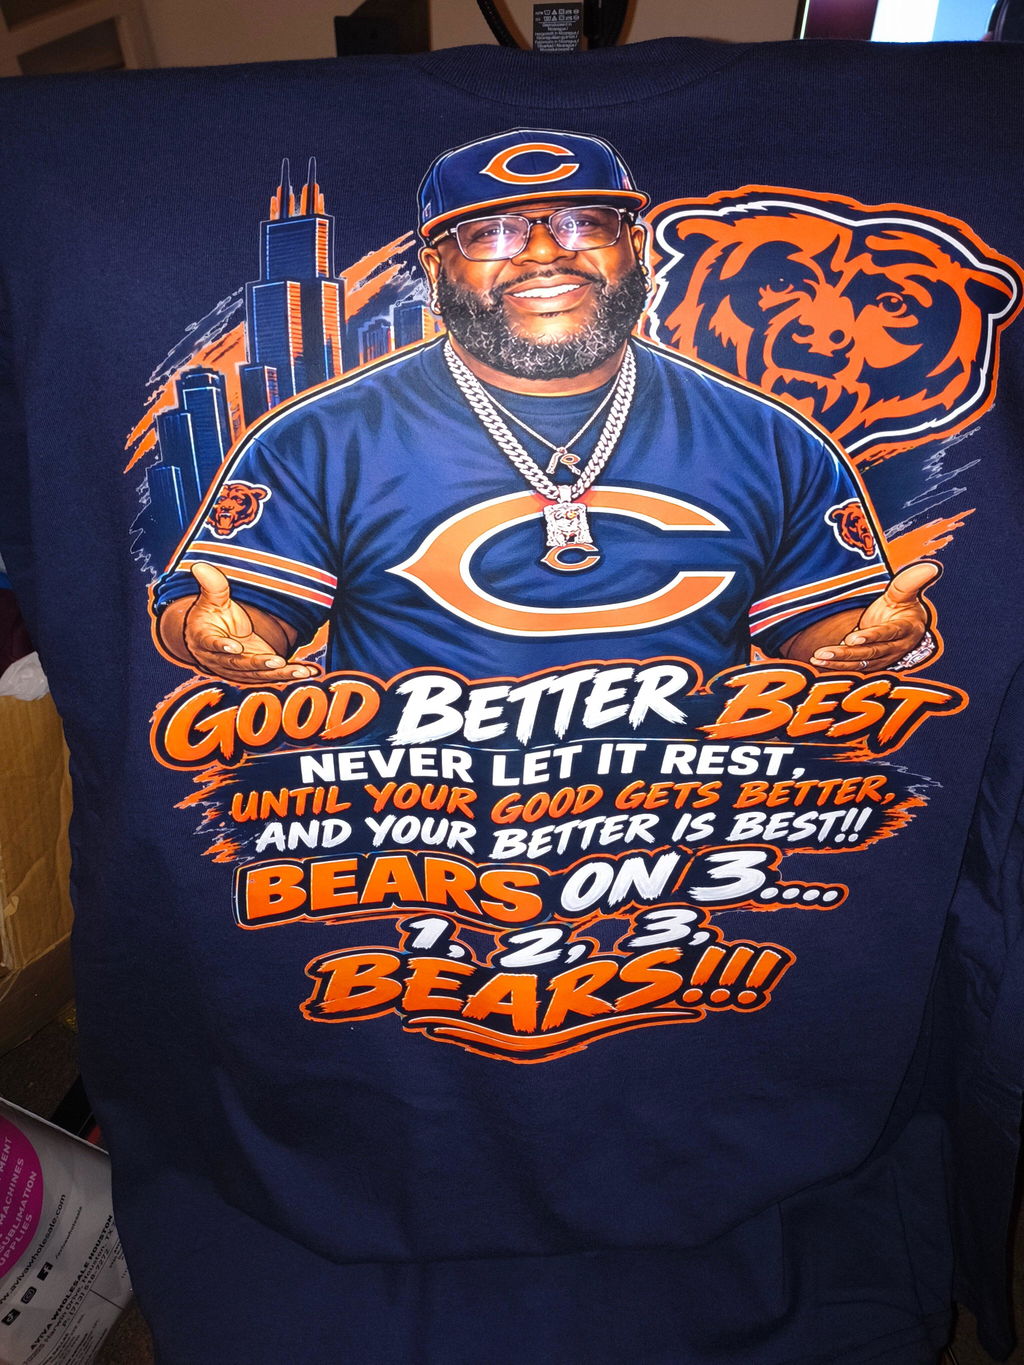
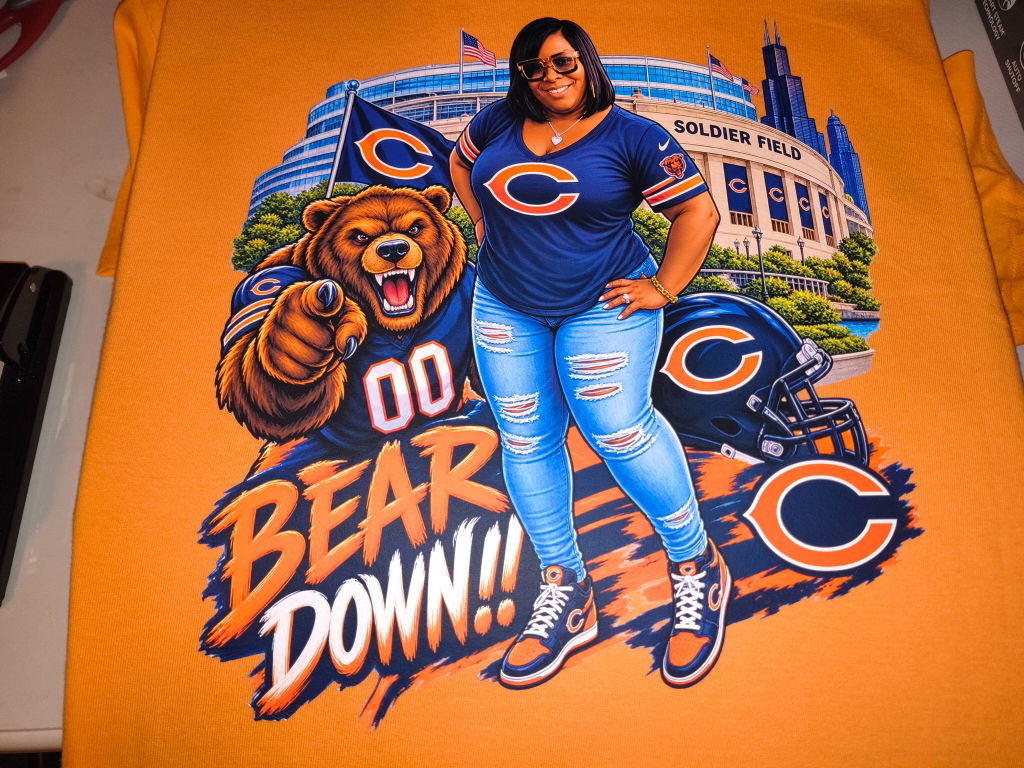
Artwork Scaling · Aspect Ratio · DTF Artwork · DTF Artwork Resizing · DTF Artwork Size · DTF Design Dimensions · DTF Transfer Size · DTF Transfer Size Chart · Proportional Scaling
How to Resize DTF Artwork Without Distorting the Design

Resizing DTF artwork is not as simple as typing two new numbers into the width and height fields. If you change those dimensions independently, a logo can become stretched, an illustration can look compressed, or lettering can appear unusually tall or wide. The file may still show the dimensions you entered, but the original shape of the design has been changed.
A more reliable approach is to preserve the artwork's aspect ratio and treat one dimension as the target. When you choose a new width, the height should change in proportion. When you choose a new height, the width should follow the same relationship. A DTF Transfer Size Chart can help you evaluate the physical size you want. This guide focuses on what happens next: resizing the artwork to that size without distorting its shape.
Why Width and Height Are Not Two Independent Decisions
The appearance of an artwork file is not determined by its total width or height alone. The relationship between those two dimensions defines the geometry of the design.
For example, suppose a design is 10 units wide and 4 units high. That width-to-height relationship creates its natural shape. If you increase the width while leaving the height unchanged, the design stretches horizontally. If you increase the height without changing the width, it becomes vertically elongated.
The basic rule for proportional resizing is therefore straightforward:
When one dimension changes, the other dimension should change by the same scaling factor.
If that relationship is not preserved, the result is distortion rather than proportional scaling.
Which Dimensions Should You Start With?
For this process, assume that the visible boundaries of the artwork have already been identified correctly. The issue here is not transparent padding or the size of the surrounding canvas. The goal is to resize the visible graphic while preserving its width-to-height relationship.
You need two starting values: the current width and current height of the artwork. As long as the relationship between those values remains consistent, the design can be moved to different physical sizes without changing its basic shape.
If you change only one value and force the other to remain fixed, however, you are changing the geometry of the artwork rather than simply changing its size.
What Does Aspect Ratio Mean?
Aspect ratio describes the relationship between an artwork's width and height. It is the geometric relationship that helps make a design appear square, wide, or tall.
- Square artwork: Width and height are equal or close to equal.
- Wide artwork: Width is substantially greater than height.
- Tall artwork: Height is substantially greater than width.
Making the artwork larger or smaller should not change that underlying shape. If a square logo becomes rectangular after resizing, its proportions have changed. If a wide wordmark suddenly looks shorter and heavier, the width-to-height relationship has been altered.
The objective is not to make every design fit the same shape. It is to preserve the shape the artwork already has while changing its overall dimensions.
Should You Resize Width First or Height First?
Instead of guessing two new dimensions at the same time, identify which dimension represents the real sizing constraint. In many cases, either the available width or the available height will determine how large the artwork can become.
Width-First Scaling
If width is the primary constraint for the intended print area, choose the final width first. Do not treat height as a separate target that must also be manually selected. Allow the new height to follow from the artwork's original proportions.
This approach is particularly intuitive for horizontal logos, wordmarks, and wide illustrations. The decision becomes: “If the artwork needs to be this wide, how tall should it naturally be?”
Height-First Scaling
A vertical design may reach its usable height limit before width becomes the main constraint. In that situation, select the final height first and allow the width to change proportionally.
This gives you one physical sizing target rather than two competing targets. The second dimension is determined by the artwork's original proportions.
How Do You Calculate the New Dimension?
The math behind proportional scaling is simple. First, calculate the scaling factor that describes how much larger or smaller the artwork will become.
If width is your target:
Scaling Factor = New Width ÷ Original Width
Then calculate the new height:
New Height = Original Height × Scaling Factor
If height is the target, use the same logic in the other direction:
Scaling Factor = New Height ÷ Original Height
New Width = Original Width × Scaling Factor
For example, suppose the artwork is 10 × 4 and you want the new width to be 12. The scaling factor is 1.2. Applying the same factor to the height changes it from 4 to 4.8, producing a proportional result of 12 × 4.8.
Changing the width to 12 while keeping the height at 4 would not be a proportional resize. It would stretch the artwork horizontally.
Which Dimension Should You Prioritize for Square, Wide, and Tall Artwork?
The proportional-scaling math does not change, but the most useful dimension to prioritize can depend on the natural shape of the artwork.
Square Artwork
With square artwork, width and height move together at the same scale. If a 6 × 6 design is resized to a width of 9 while its proportions remain intact, its height also becomes 9.
Wide Artwork
A wide logo or wordmark will often reach a width constraint before its height becomes limiting. A width-first approach can therefore be easier to use. Manually increasing the height afterward simply because the design looks short would change its original shape.
Tall Artwork
For a vertical illustration, height may be the more useful starting constraint. A height-first approach lets you select the required height and allow the width to follow naturally from the original ratio.
The purpose of these distinctions is not to create a separate transfer-size chart for every artwork shape. The same proportional-scaling principle applies to all three. What changes is the dimension you choose as the starting point.
Why Should You Keep Proportions Locked?
Many design applications include a control that links width and height. When that relationship is locked, changing one dimension causes the other to update proportionally. If the relationship is unlocked, width and height can be changed independently, which can distort the artwork.
This is a general scaling principle rather than something unique to one design program. Adobe Photoshop's official resizing documentation explains how constrained proportions preserve the width-to-height relationship. Adobe Illustrator's official object-scaling guidance likewise distinguishes proportional scaling from changing dimensions non-uniformly.
Your software may represent this control with a chain icon, a lock, a constrain-proportions option, or similar terminology. The interface matters less than the result: when one dimension changes, the other should remain connected to it through the same scaling relationship.
When Is Percentage-Based Scaling Useful?
Sometimes you want to make artwork larger or smaller by a percentage rather than begin with a specific final physical dimension. Uniform percentage scaling can make that process straightforward.
For example, scaling both width and height to 80% makes both dimensions smaller by the same factor. Scaling both dimensions to 120% makes the design larger while preserving its geometry.
The problem begins when horizontal and vertical percentages differ. Scaling width to 120% while leaving height at 100% changes the shape of the design. The same rule therefore applies to percentage-based resizing: both axes must maintain the same scaling relationship if you want a proportional result.
Scaling Down and Scaling Up Require One Important Distinction
From a geometry standpoint, making artwork larger and making it smaller use the same proportional-scaling logic. Enlarging artwork, however, can introduce a separate question about image quality.
Preserving the aspect ratio tells you that the shape of the design remains intact. It does not, by itself, prove that the source artwork has enough image information for every larger output size.
It is therefore useful to separate two checks: Is the geometry still proportional? and Is the source artwork suitable for the new size?
This guide addresses the first question. Arbitrary DPI thresholds, universal upscale rules, and general artwork-preparation requirements are separate issues and should not be confused with aspect-ratio control.
Is Looking Correct in the Preview Enough?
A visual preview is useful, but you should also verify the final width and height numerically.
This is especially important when resizing by dragging handles. An artwork may look approximately correct on screen while a small horizontal or vertical distortion goes unnoticed if proportions were not locked.
After resizing, check the dimension fields rather than relying only on visual judgment. You should also perform the check on the actual final artwork that will be used for the order or production workflow. A previous version of the design having the correct proportions does not guarantee that the final exported version remained unchanged.
Common DTF Artwork Resizing Mistakes
- Entering width and height as two independent targets.
- Resizing along only one axis while proportions are unlocked.
- Forcing artwork into a predetermined width-and-height box.
- Trying to turn naturally wide artwork into a square shape.
- Changing height without checking whether width changed by the same ratio.
- Using different horizontal and vertical scaling percentages.
- Treating proportional resizing and artwork-quality evaluation as the same problem.
- Failing to verify the final width and height before using the artwork.
A Simple Proportional-Resize Workflow for DTF Artwork
- Identify the original width and height of the visible artwork.
- Recognize the artwork's natural shape: square, wide, or tall.
- Decide whether width or height is the real constraint for your final size.
- Choose a target for that dimension only.
- Keep the proportions or aspect-ratio control locked.
- Confirm that the second dimension changes by the same scaling factor.
- Visually inspect the artwork for stretching or squashing.
- Verify the final width and height numerically.
- If the artwork was enlarged, evaluate image quality as a separate check.
Where Does a DTF Transfer Size Chart Fit Into the Process?
A DTF transfer size chart can help you evaluate a target physical size. It cannot preserve the aspect ratio of your artwork for you.
A better sequence is to determine the target transfer area first and then resize the artwork proportionally using either width or height as the controlling dimension. Avoid forcing both dimensions independently to match predetermined numbers.
For example, if your sizing decision gives you a maximum width, bring the artwork to that width and allow its height to follow from the aspect ratio. If the resulting height does not fit the available area, do not solve the problem by compressing the design vertically. Reconsider the target transfer size instead.
This keeps two decisions separate: the physical size available for the transfer and the geometric relationship that determines the artwork's shape.
Before You Finalize Your DTF Artwork Dimensions
Once resizing is complete, check three things: Does the artwork still have its original shape? Has the width-to-height relationship remained consistent? Does the final controlling dimension match the physical size you intended to use?
Rather than changing the shape of artwork to make it fit a specific box, choose one controlling dimension and let the other follow from the aspect ratio. That preserves the geometry of logos, illustrations, and typography while allowing the overall transfer size to change.
Once your final dimensions are clear, compare the result with the DTF Transfer Size Chart. If you are ready to move from sizing to ordering, you can then continue to DTF Transfer By Size.