


DTF Transfer Instructions – A Complete Guide to Perfect DTF Printing
Introduction
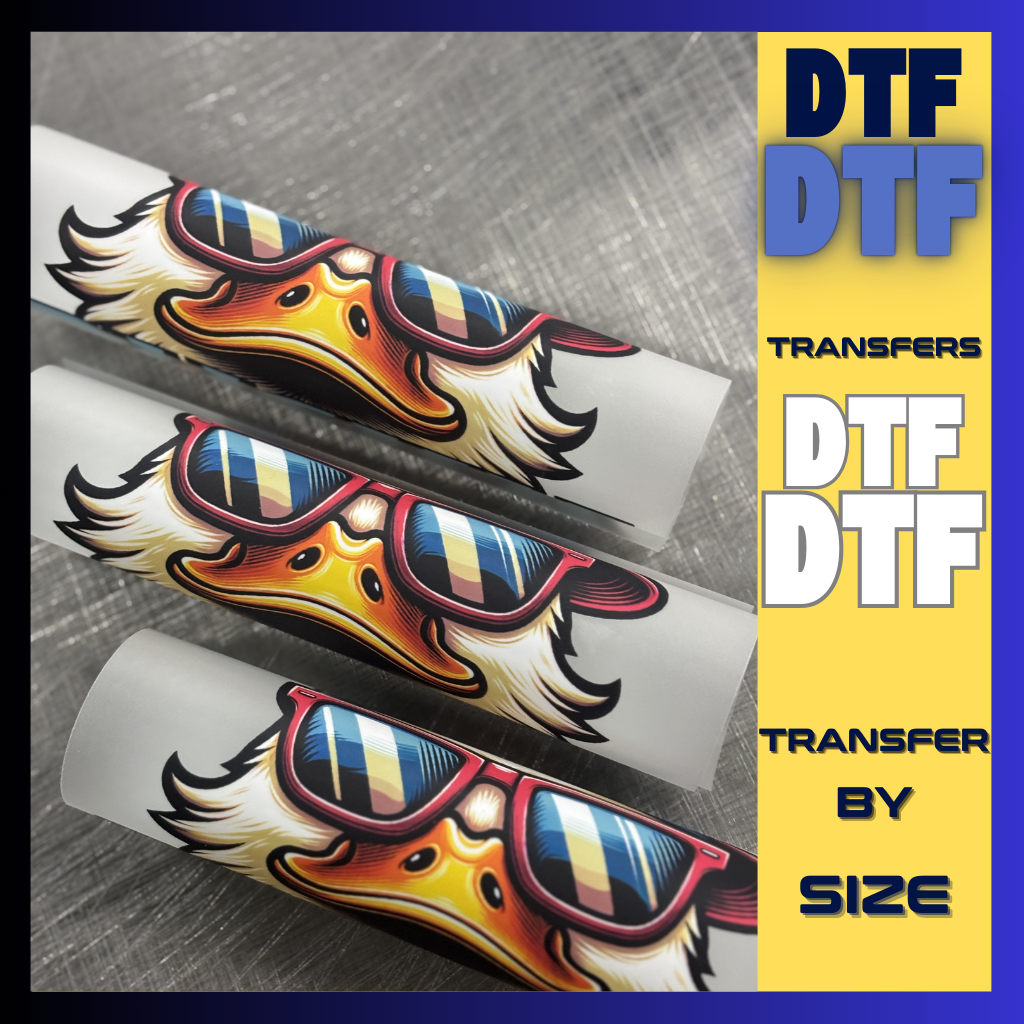
Direct-to-Film (DTF) printing is one of the most innovative and versatile printing technologies available today. Whether you're customizing t-shirts, hoodies, tote bags, or even shoes, following the correct DTF transfer instructions ensures vibrant, durable, and long-lasting prints.
Many people ask, "How to do DTF transfer?" or "What are the correct DTF pressing instructions?" Understanding the DTF heat transfer instructions is crucial for achieving high-quality prints. In this guide, we will cover step-by-step DTF instructions, the best heat press settings for DTF, and DTF washing instructions to keep your designs looking new.
What is a DTF Transfer?
A DTF transfer is a heat-based method where a design is first printed onto DTF film using a DTF printer. Then, a special hot-melt adhesive powder is applied, cured, and transferred onto fabric or other materials using heat and pressure.
Why Choose DTF Printing?
✔ Works on multiple fabric types – Cotton, polyester, blends, and even leather.
✔ No weeding required – Unlike vinyl, you don’t need to manually remove excess material.
✔ Durable and flexible – Withstands multiple washes without cracking or fading.
✔ Full-color, high-resolution prints – Captures gradients and small details.
For a more technical explanation of heat transfer printing, check out this Wikipedia article on Heat Transfer Printing.
Step-by-Step DTF Transfers Instructions
1. Prepare Your Design
- Ensure the artwork is high resolution (300 DPI or higher) for a sharp print.
- Use CMYK color mode to get accurate colors in the final print.
- Mirror the design before printing on DTF film.
2. Print on DTF Film
- Load the DTF film into your DTF printer.
- Print the white underbase layer first.
- Print the color layer on top for full-color output.
3. Apply the Adhesive Powder
- Sprinkle DTF hot-melt adhesive powder evenly over the wet print.
- Shake off any excess powder.
- Make sure the powder is evenly distributed for strong adhesion.
4. Cure the Transfer
- Place the DTF film in a curing oven or under a heat press.
- Curing Temperature: 250°F - 280°F (120°C - 140°C).
- Curing Time: 2-3 minutes or until the adhesive powder melts completely.
5. Apply the DTF Transfer Using a Heat Press
- Set the correct heat press settings for DTF:
- Temperature: 320°F - 350°F (160°C - 180°C).
- Pressure: Medium to firm.
- Time: 10-15 seconds.
- Place the DTF transfer film on the fabric printed side down.
- Press the heat press firmly.
6. Peel the Transfer Film
- Let the print cool before peeling. (Cold peel is recommended for better adhesion.)
- Slowly remove the DTF film to reveal the final design.
7. Post-Pressing for Durability
- Place a Teflon sheet or parchment paper over the design.
- Press again for 5-10 seconds to enhance durability.
Heat Press Settings for DTF Transfers
| Material | Temperature (°F) | Pressure | Time (Seconds) | Peel Type |
|---|---|---|---|---|
| Cotton | 320°F - 350°F | Medium-Firm | 10-15 | Cold Peel |
| Polyester | 300°F - 320°F | Medium | 10-12 | Cold Peel |
| Blends | 320°F - 340°F | Medium | 10-15 | Cold Peel |
| Leather | 280°F - 300°F | Low | 8-10 | Cold Peel |
DTF Washing Instructions – How to Care for Your Prints
Following proper DTF washing instructions ensures that your prints remain vibrant and crack-free for longer.
✔ Wash inside out – Protects the print from friction.
✔ Use cold water – Hot water may weaken the adhesive.
✔ Avoid bleach or harsh detergents – Can damage the print.
✔ Do not use a high-heat dryer – Air drying is best.
✔ Avoid ironing directly on the print – Use a protective cloth or turn the garment inside out.
Common DTF Transfers Mistakes and How to Fix Them
1. Print Peeling Off
- Cause: Not enough pressure or incorrect heat settings.
- Solution: Increase pressure and double-check heat settings.
2. Dull Colors After Transfer
- Cause: Low-quality ink or incorrect curing process.
- Solution: Use high-quality pigment ink and properly cure the DTF film.
3. Film Not Peeling Properly
- Cause: Peeling too soon or uneven pressing.
- Solution: Wait for the print to cool completely before peeling.
Where to Find the Best DTF Transfers Instructions and Supplies
Looking for detailed DTF transfer instructions and high-quality transfer supplies? Check out Eagle DTF Print for expert printing solutions:
👉 DTF Transfer Instructions – Shop Here
If you're starting a DTF printing business, investing in a DTF transfer printer and quality supplies can make a huge difference in your print results.
DIY DTF Printing vs. Buying Pre-Printed Transfers
✔ DIY DTF Printing – Best for businesses printing in bulk or custom designs.
✔ Pre-Printed DTF Transfers – Ideal for small businesses or individuals who need ready-to-use prints.
For bulk production, investing in a DTF printer and supplies is cost-effective. However, if you need quick, small-batch prints, buying ready-made transfers is more convenient.
Final Thoughts
Following the correct DTF transfer instructions is essential for vibrant, durable, and professional-quality prints. Whether you’re starting a DTF printing business or creating custom apparel, understanding how to do DTF transfer ensures long-lasting results.
Looking for DTF supplies, printers, or professional transfers? Visit Eagle DTF Print today to get started! 🚀
Let customers speak for us
Excellent product and delivery
Excellent product and delivery time!
Brooks Marcus

Build Your DTF Gang Sheet
Love this company
Love this company... fast service and great quality
Heather

Upload Your DTF Gang Sheet
Amazing and Fast
Fast, reliable service. Prints always come out amazing!
Jules Conway
Upload Your DTF Gang Sheet
Wonderful!
Always fast, always correct. Quick to answer questions. Using the color sample sheet for reference, colors are great!
Amberly
Upload Your DTF Gang Sheet
I'd give more than 5 stars if I could!
I can never say enough great things about Eagle Print! My go to! We have used many many different companies in the past and Eagle is by far the best. Orders are easy to place, no hassles, great prices, better quality and fast delivery!
Heather Swart
Build Your DTF Gang Sheet

Won’t clog headafter a few days of not being
Won’t clog headafter a few days of not being used
jose zuniga

Premium DTF Ink - White 1 Liter
Great Work!!!
Very helpful and patient. I really like the work they do.
DTF and UV
Anonymous
Build Your DTF Gang Sheet
Honestly, the best money I’ve ever spent on transfers! The 24/7 pickup is GENIUS!
RYAN WAKEFIELD
Eagle DTF Print
