


Premium Apparel Branding: The Power of Custom Heat Transfers For Shirts
The garment decoration industry is undergoing a monumental shift toward high-performance Custom Heat Transfers For Shirts. This technology allows designers to move beyond the limitations of traditional screen printing and vinyl cutting. You can now apply complex, multi-colored logos to various garments with a simple heat press machine. These transfers are engineered to bond deeply with fabric fibers, ensuring a professional look that lasts. Small business owners and large clothing lines alike are adopting this method to maintain agility in a fast-paced market. Every transfer provides a crisp, high-definition finish that elevates the perceived value of your apparel. Investing in quality heat transfers is the most effective way to produce retail-ready clothing from any workspace.
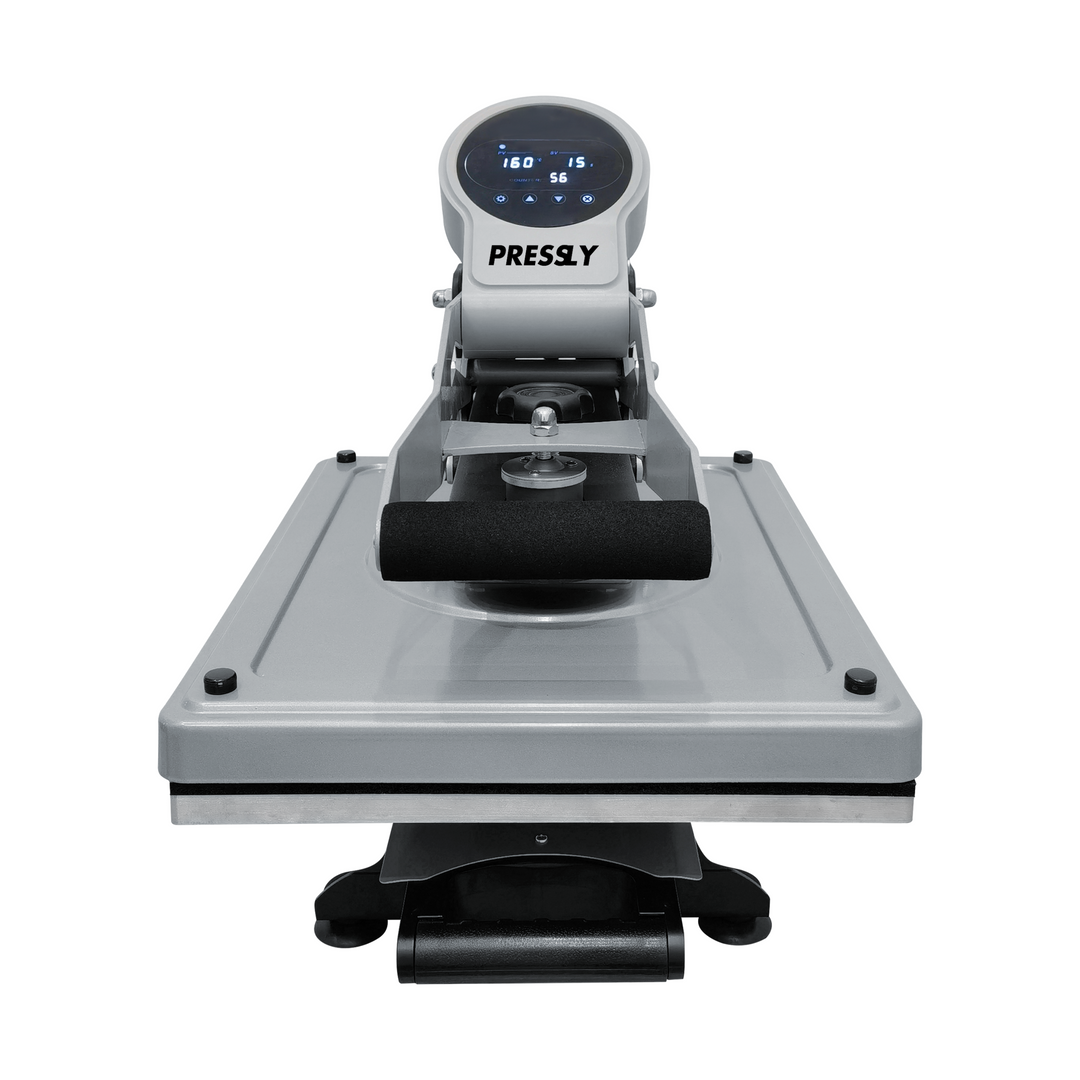
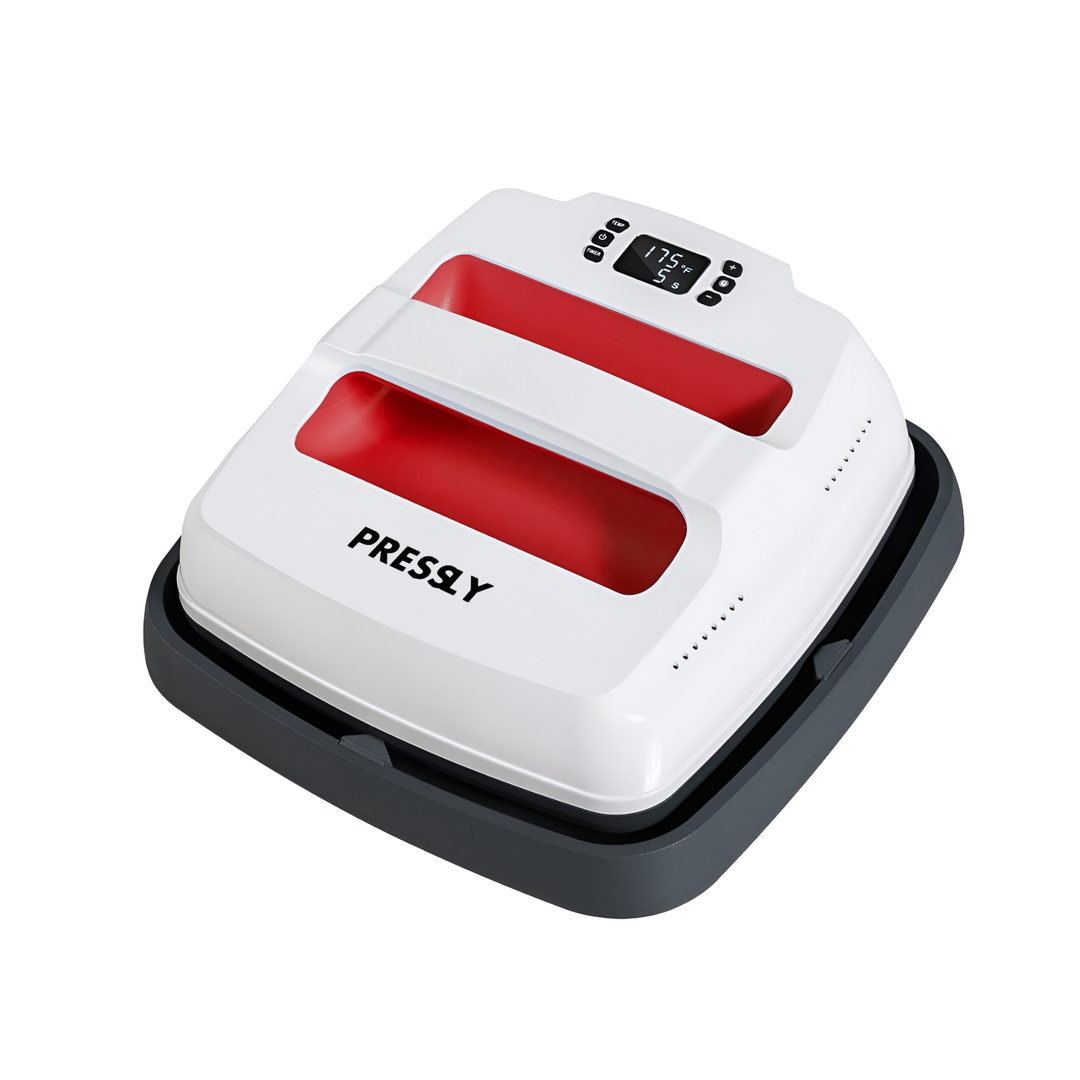
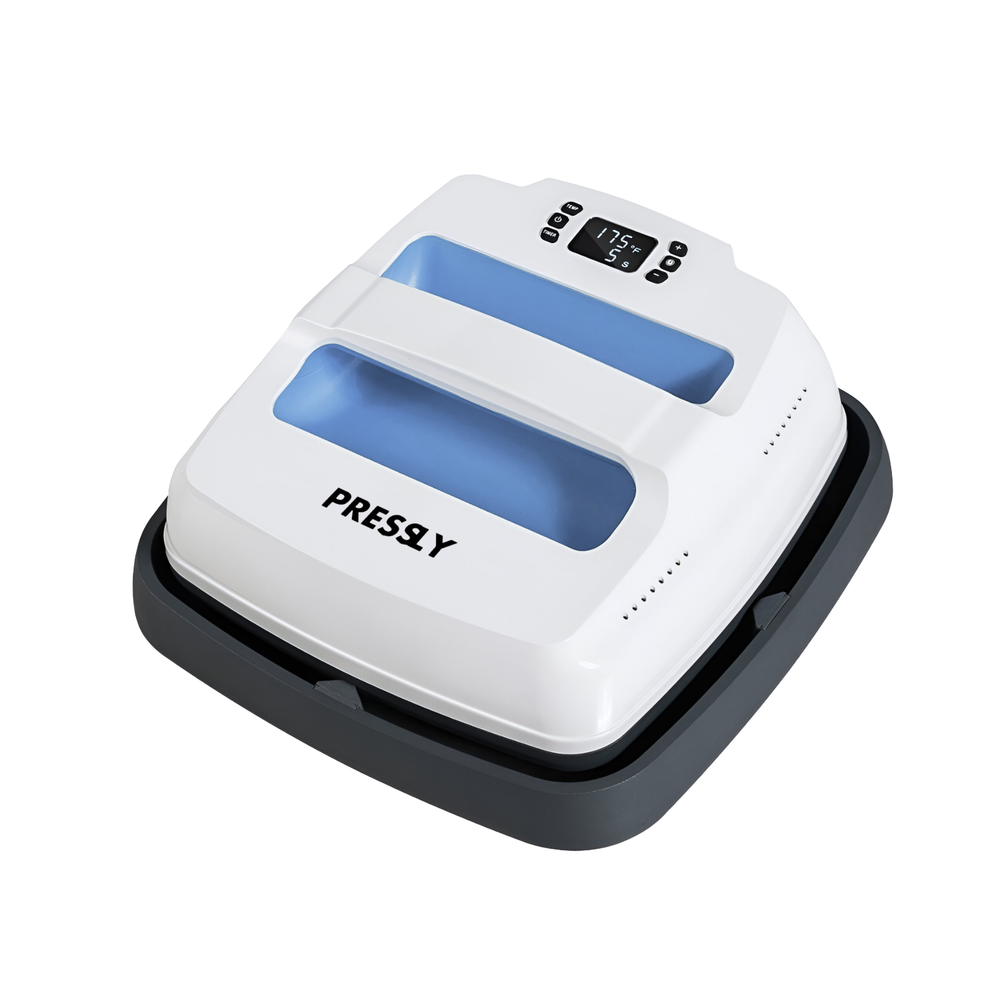
Maximize efficiency with our
Why Quality Heat Transfers Outperform Traditional Printing
Choosing Custom Heat Transfers For Shirts offers a significant technical advantage in terms of color depth and detail. Traditional screen printing often struggles with intricate gradients and fine photographic elements. Modern digital heat transfers utilize advanced CMYK+W technology to capture every nuance of your original digital artwork. You no longer have to worry about the "heavy" feeling associated with thick layers of plastisol ink. These transfers are incredibly thin and flexible, allowing the shirt to drape naturally on the body. This lightweight characteristic is especially important for modern, high-quality streetwear and athletic brands. Reliability is built into the chemistry of the adhesive, preventing any issues with peeling or cracking over time.
Versatile Applications for Every Textile Category
The adaptability of Custom Heat Transfers For Shirts makes them a "universal" solution for diverse clothing lines. You can apply these graphics to standard cotton t-shirts, polyester jerseys, and even rugged canvas bags. This flexibility eliminates the need for different types of printing equipment for different fabric blends. Many decorators use these transfers for hoodies, aprons, and children's wear due to their safety and durability. The adhesive is specifically formulated to withstand the stretching that occurs with performance fabrics and spandex. Whether you are branding a corporate polo or a heavy-duty work jacket, the results remain consistent. Expanding your product catalog becomes a simple task when you rely on a single, high-performance transfer method.
Boosting Profitability Through On-Demand Production
Implementing Custom Heat Transfers For Shirts into your workflow is a strategic move to maximize your business profit margins. You can avoid the high costs of inventory by printing only what you sell, effectively eliminating unsold stock. This "just-in-time" manufacturing model is perfect for testing new designs without a large financial commitment. Smaller order quantities are no longer a barrier to professional-grade branding for startups. You can fulfill custom requests for local events or sports teams with a very fast turnaround time. The low cost per transfer allows you to offer competitive pricing while keeping your margins healthy. Speed and efficiency are the primary drivers of success in the modern custom apparel landscape.
Achieving Professional Color Accuracy and Consistency
Maintaining brand integrity requires absolute color precision, and Custom Heat Transfers For Shirts deliver exactly that. Advanced color management software ensures that your specific brand colors are reproduced accurately across every batch. You can achieve deep, saturated blacks and brilliant white layers that stay opaque on dark fabrics. This prevents the "dye migration" issue where the shirt color bleeds through the logo over time. Consistency is vital for corporate clients who expect their logos to look identical on every garment. Digital precision removes the human error often found in manual ink mixing for screen printing. Your customers will appreciate the high-end, uniform appearance of their customized merchandise.
Durability Standards for Long-Lasting Apparel
A major concern for any clothing brand is the longevity of the print after multiple wash cycles. Custom Heat Transfers For Shirts are rigorously tested to meet industrial standards for wash fastness and abrasion resistance. The specialized hot-melt adhesive creates a permanent bond that survives fifty or more trips through the laundry. Your designs will stay vibrant and intact, resisting the fading that often occurs with lower-quality transfer types. This durability is a direct reflection of your brand's commitment to providing high-quality products. Happy customers who receive long-lasting shirts are far more likely to become repeat buyers. Quality materials are the foundation of building a trustworthy and reputable fashion business.
Streamlining Your Workspace with Lean Manufacturing
The physical footprint required to use Custom Heat Transfers For Shirts is remarkably small compared to other printing methods. You don't need darkrooms, chemical washout stations, or massive conveyor dryers in your shop. A high-quality heat press and a clean tabletop are the only essential tools needed to start production. This reduction in equipment needs significantly lowers your monthly overhead and utility expenses. You can focus more of your energy on creative design and customer engagement rather than technical maintenance. This lean approach is ideal for home-based entrepreneurs and boutique retail owners looking to scale. Efficiency in production allows you to spend more time growing your brand's presence in the market.
Environmental Benefits of Modern Transfer Technology
Choosing Custom Heat Transfers For Shirts is a positive step toward a more sustainable and ethical business model. Digital transfer production generates far less chemical waste and water pollution than traditional screen printing shops. You use only the exact amount of ink and film required for your specific order volume. Many modern transfer manufacturers use eco-friendly, water-based inks that are safe for both the environment and the wearer. Reducing material waste through precise digital layouts also helps lower your overall carbon footprint. Sustainability is a major selling point for modern consumers who prefer to support responsible brands. You can achieve professional success while also protecting the planet for future generations.
Conclusion: Elevating Your Apparel Business
In conclusion, Custom Heat Transfers For Shirts provide the ultimate balance of quality, speed, and versatility. This technology has democratized the world of professional apparel, allowing anyone with a vision to create high-end garments. Whether you are building a boutique brand or managing a large corporate account, these transfers offer the reliability you need. The ease of application ensures that you can scale your production quickly as your business grows. As digital printing continues to evolve, the results will only become more impressive and accessible. Take the next step in your creative journey by choosing a branding solution that delivers excellence every time. Your designs deserve to be showcased with the best technology available today.
To stay updated with the latest trends and production tips, you can follow the official Eagle DTF Print Instagram and Eagle DTF Print Facebook pages. These platforms offer a great way to see real-world applications of their high-quality transfers and stay informed about new product launches. You can also find helpful video tutorials and behind-the-scenes content on their Eagle DTF Print YouTube channel, which is dedicated to transforming the world of DTF and UV DTF printing. By engaging with them on Eagle DTF Print TikTok and Eagle DTF Print Pinterest, you gain access to a constant stream of creative inspiration and direct communication for any support or order inquiries. These social accounts serve as a valuable hub for the printing community to connect and share professional insights.
Let customers speak for us
Won’t clog headafter a few days of not being
Won’t clog headafter a few days of not being used
jose zuniga

Premium DTF Ink - White 1 Liter
Great Work!!!
Very helpful and patient. I really like the work they do.
DTF and UV
Anonymous

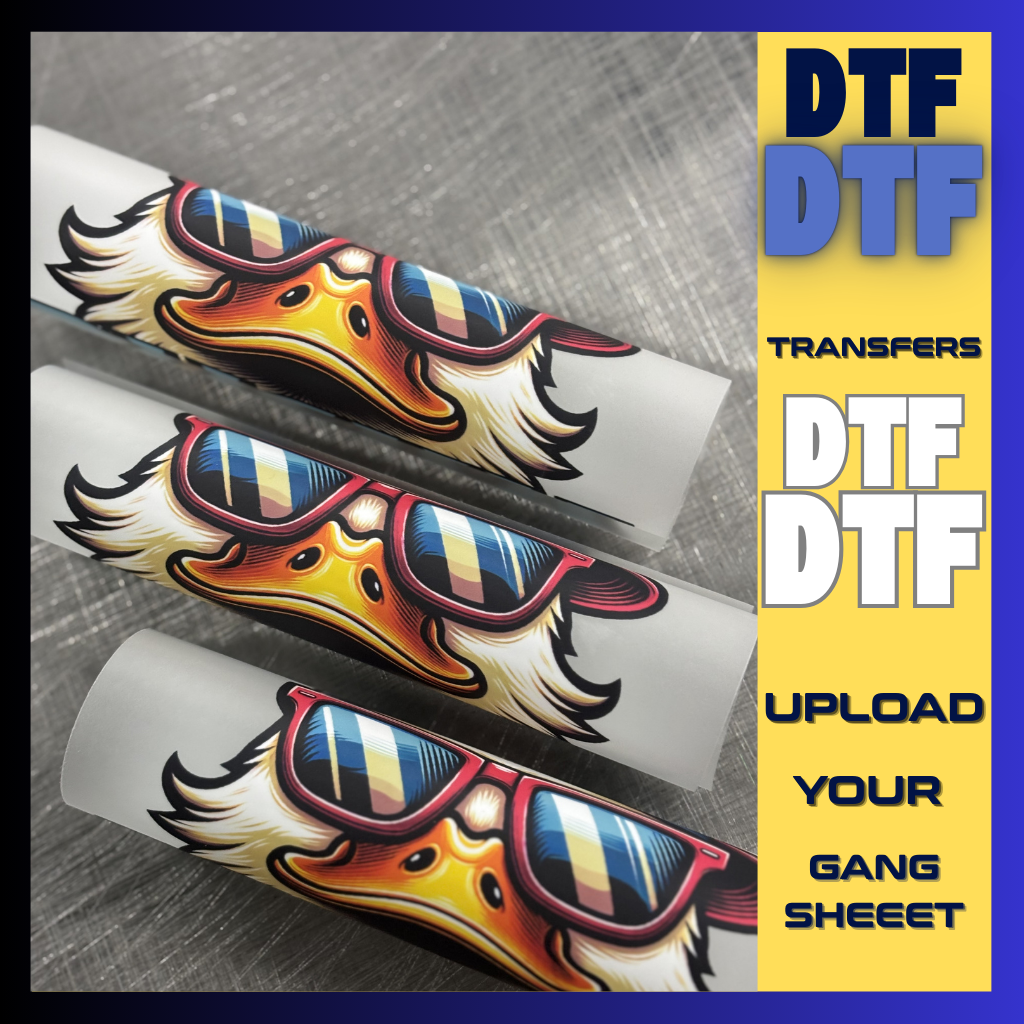
Build Your DTF Gang Sheet
Honestly, the best money I’ve ever spent on transfers! The 24/7 pickup is GENIUS!
RYAN WAKEFIELD
Eagle DTF Print
The turn around time and quality of the DTF and UVDTF are amazing! I am so happy I found a local shop!
Lydia
Eagle DTF Print
Great Purchase
Working On Third Large Order Love The Ease Of Building A Gang Sheet First Hand And Trusting It Will Be Delivered Correctly Colors Has Matched Perfectly And No Overlap Takes Only A Few Minutes To Cut
Terry

BUILD YOUR UV DTF STICKER GANG SHEET
Very satisfied with the work
Very satisfied with the work, good color, and fast delivery.
Anonymous

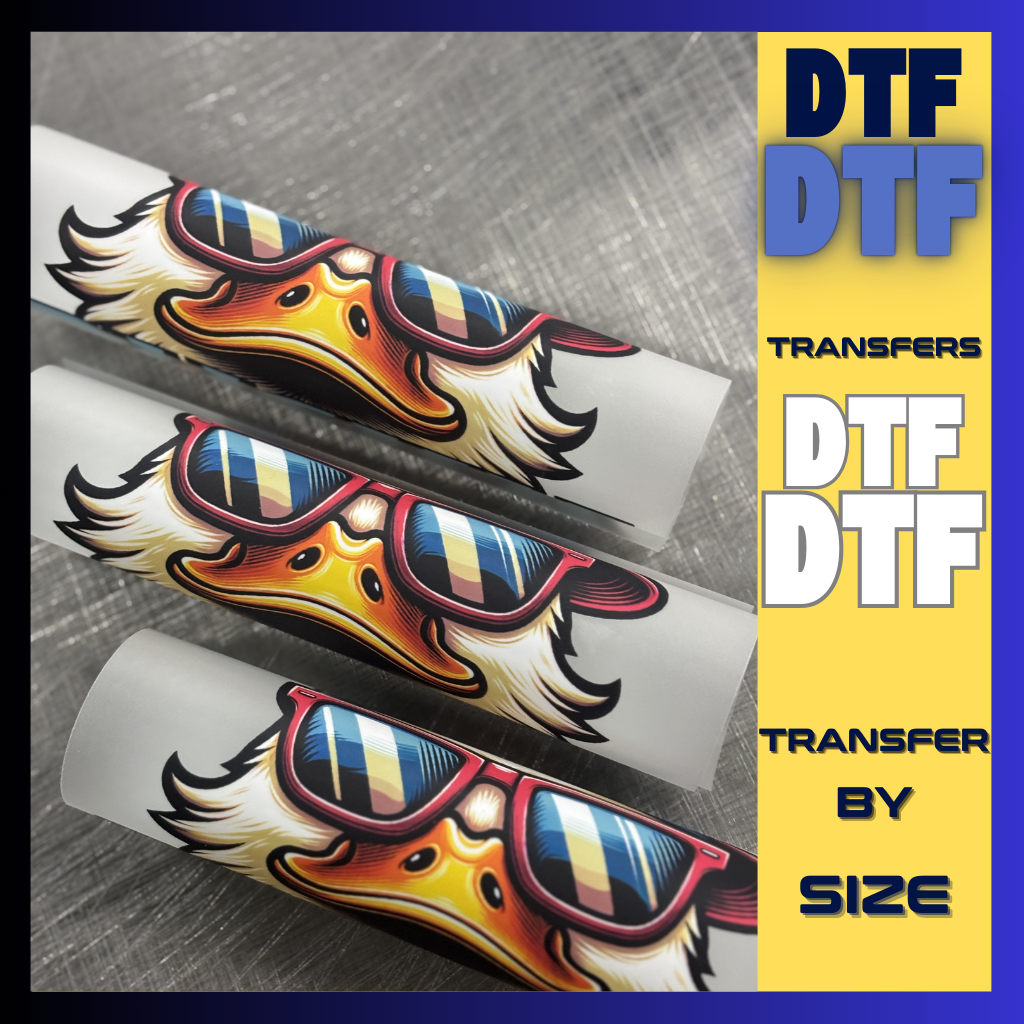
DTF Transfer By Size
easy of order process, speedy delivery, a returning customer(Screen Printer 30yr.)
Bruce Anderson
Eagle DTF Print
I had great experiences with Eagle DTF ever since I discovered this company. Fast shipping and option to pickup even after hours is something you won’t find elsewhere. This shop has become my go to for my small business as i always get my order within a day. I highly recommend them!
Jennifer
Eagle DTF Print
Eagle DTF Print delivers amazing quality every time!
The quality of their Build Your DTF Gang Sheet are amazing! The colors are vibrant, the details are crisp, and the transfers press perfectly. Fast turnaround and great customer service. Highly recommend and will use again!
Stephanie Garcia
Build Your DTF Gang Sheet