


6 artículos


Cómo imprimir transferencias DTF: una guía completa paso a paso
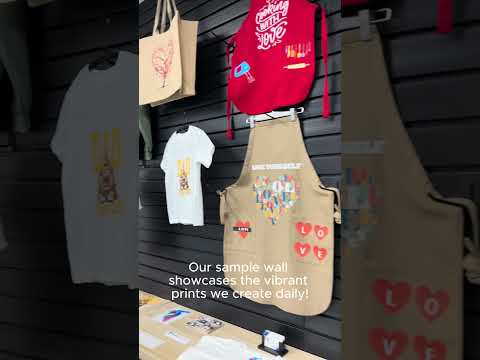
Las transferencias DTF (Directo a Película) han revolucionado la industria de la ropa personalizada, permitiendo impresiones de alta calidad con excelente durabilidad. Sin embargo, un prensado térmico adecuado es crucial para lograr los mejores resultados. En esta guía completa, aprenderá a prensar una transferencia DTF correctamente, los ajustes ideales de tiempo y temperatura, y los errores comunes que debe evitar.
1. ¿Qué es una transferencia DTF?
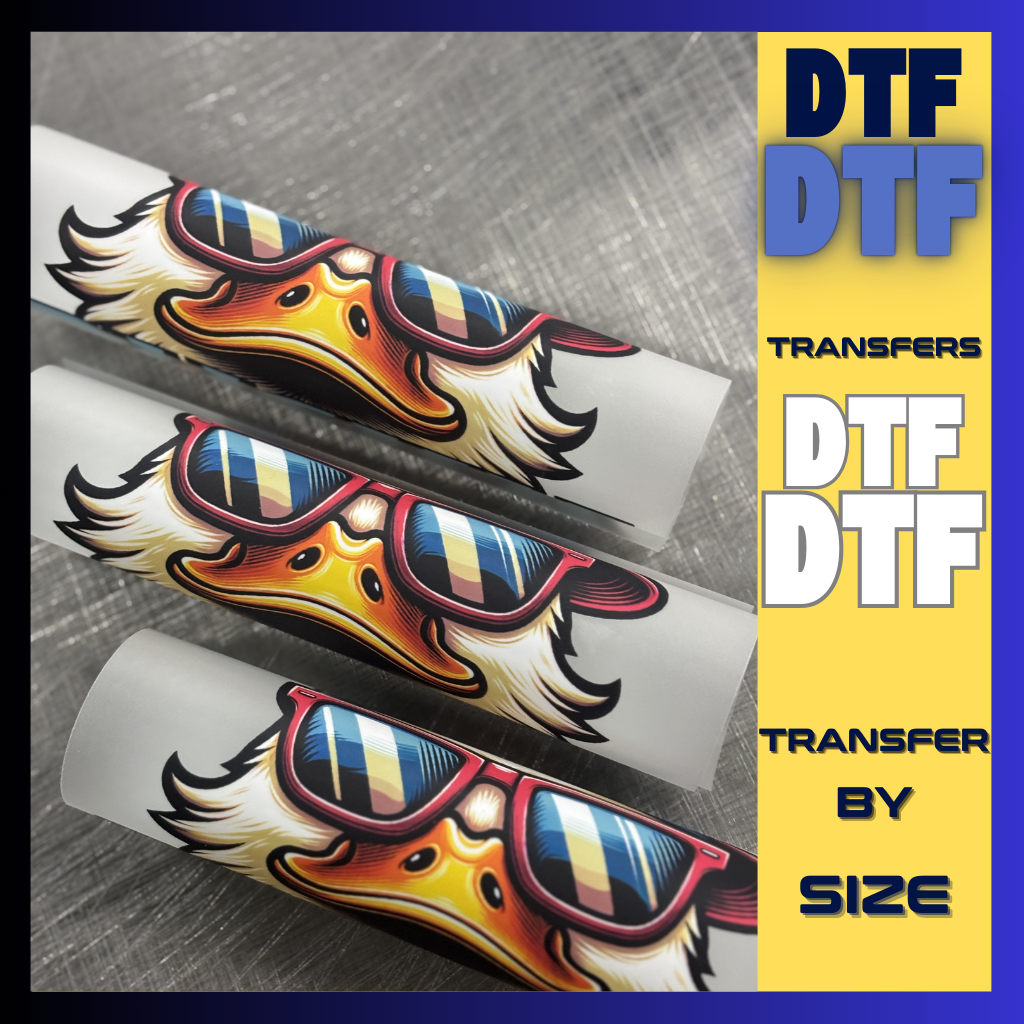
Una transferencia DTF es un diseño aplicado con calor que se imprime sobre una película especial de PET con tinta DTF , se recubre con polvo adhesivo y luego se transfiere a la tela mediante una prensa térmica. Este método es versátil, duradero y compatible con diversos tipos de telas , como algodón, poliéster y mezclas.
🔗 Obtenga más información sobre la impresión DTF en Wikipedia .
2. ¿Qué necesitas para realizar una transferencia DTF?
Antes de comenzar a prensar sus transferencias DTF, asegúrese de tener el equipo y los materiales adecuados:
Materiales y equipos necesarios
✅ Hoja de transferencia DTF : diseño preimpreso con polvo adhesivo
✅ Máquina de prensado térmico : se recomienda una prensa térmica profesional para una presión uniforme.
✅ Prenda o tela : algodón, poliéster, mezclas u otros materiales compatibles
✅ Hoja de teflón o papel pergamino : protege la impresión y evita que se queme.
✅ Rodillo quitapelusas : elimina el polvo y la pelusa antes de presionar
3. Cómo imprimir una transferencia DTF: proceso paso a paso
Siga estos pasos para garantizar que su transferencia DTF se aplique correctamente y dure mucho tiempo.
Precalentar la prensa térmica
- Ajuste su prensa térmica a 320°F (160°C) .
- Dejar que alcance completamente la temperatura deseada antes de prensar.
Preparar la tela
- Coloque la tela plana sobre la prensa térmica.
- Utilice un rodillo quitapelusas para eliminar el polvo y los residuos.
- Presione previamente la tela durante 5 segundos para eliminar la humedad y las arrugas.
Posicionar la transferencia DTF
- Coloque la tinta de transferencia DTF hacia abajo sobre la tela.
- Alinee el diseño correctamente para evitar impresiones torcidas.
Presione el botón Transferir
- Temperatura: 320°F (160°C)
- Tiempo: 15-20 segundos
- Presión: Presión media a firme
Despegar la película de transferencia
- Método de despegado en frío: deje que la transferencia se enfríe por completo antes de despegarla.
- Método de pelado en caliente: despegue inmediatamente después de presionar si utiliza una transferencia de pelado en caliente.
Postimpresión para mayor durabilidad
- Coloque una hoja de teflón o papel pergamino sobre el diseño.
- Presione con calor nuevamente durante 5 a 10 segundos para mejorar la durabilidad y la suavidad.
4. ¿Cuánto tiempo hay que presionar las transferencias DTF?
| Tipo de transferencia | Temperatura | Tiempo | Presión | Tipo de pelado |
|---|---|---|---|---|
| Transferencia DTF estándar | 320 °F (160 °C) | 15-20 segundos | Medio a firme | Peeling en frío |
| Transferencia DTF de despegado en caliente | 320 °F (160 °C) | 10-15 segundos | Medio | Peeling caliente |
| Post-prensado (para mayor durabilidad) | 320 °F (160 °C) | 5-10 segundos | Medio | N / A |
✅ Consejo: consulte siempre las recomendaciones del fabricante para conocer los ajustes óptimos de tiempo y temperatura.
5. Errores comunes que se deben evitar al imprimir transferencias DTF
| Error | Solución |
|---|---|
| Presionando a la temperatura incorrecta | Utilice siempre 320°F (160°C) para obtener mejores resultados. |
| Pelar demasiado pronto | Espere a que se pegue en frío, a menos que utilice una transferencia de pelado en caliente. |
| No pre-prensar tela | Siempre presione previamente durante 5 segundos para eliminar la humedad. |
| Presión desigual | Utilice una prensa térmica profesional para lograr una presión uniforme. |
| Saltarse la posimpresión | El prensado posterior durante 5 a 10 segundos aumenta la durabilidad. |
6. Cómo mejorar la durabilidad de las transferencias DTF
✔ Utilice transferencias DTF de alta calidad : elija proveedores confiables como Eagle DTF Print .
✔ Siga las instrucciones de lavado adecuadas : lave las prendas del revés con agua fría y evite secarlas a altas temperaturas.
✔ Utilice la configuración correcta de la prensa térmica : el tiempo, la temperatura o la presión incorrectos pueden provocar que la prenda se despegue o se decolore.
✔ Guarde las transferencias de forma adecuada : mantenga las transferencias en un lugar seco y fresco, alejado de la luz solar directa.
7. ¿Dónde comprar transferencias DTF?
Si está buscando transferencias DTF personalizadas o prefabricadas, considere estos proveedores principales:
1. Impresión DTF de Eagle
📌 Ordene aquí
✔ Transferencias de alta calidad
✔ Disponible en opciones de pelado en caliente o en frío
✔ Envío rápido
2. Transferencia Express
✔ Ofrece transferencias DTF listas para imprimir
✔ Pedidos personalizados disponibles
3. Supertienda DTF
✔ Amplia gama de tamaños de transferencia DTF
✔ Precios asequibles
8. Conclusión
Dominar el prensado de transferencias DTF garantiza impresiones de alta calidad y duraderas. Utilizando la temperatura, el tiempo y la presión adecuados , podrá lograr resultados profesionales en todo momento. Tanto si es propietario de una pequeña empresa como si es aficionado al bricolaje, estos pasos le ayudarán a crear transferencias DTF duraderas y vibrantes .
¡Empieza a presionar como un profesional!
¡Consigue transferencias DTF de alta calidad en Eagle DTF Print hoy mismo! 🚀
Let customers speak for us
Thrilled to find eagle print
Always impressed with how fast they're printed and the quality.
Aisling Stompor

Build Your DTF Gang Sheet
High quality DTF tags, just make sure to specify your exact dimensions in the notes otherwise it will stretch your artwork
Charlie Lilienthal
Eagle DTF Print
Great experience overall
Great experience overall. The UV DTF gang sheet quality was spot on, prints were clean and vibrant, and everything matched my expectations. Fast turnaround and easy process. I’ll definitely be coming back for more.sposób.
Sebastian @Rapid Truck Signs
Sebastian Waalczak

BUILD YOUR UV DTF STICKER GANG SHEET
Loved my gang sheet! Great quality
Loved my gang sheet! Great quality, everything I could ask for!
T.C. Carruthers
Build Your DTF Gang Sheet
Amazing service
I could not be more impressed with the customer service and super fast turnaround. I would definitely order from Eagle again.
Mark

DTF Transfer By Size
Hello I love the quality and the speedy
Hello I love the quality and the speedy response!
Rochelle Harper
Build Your DTF Gang Sheet
Great quality
Great quality, quick shipping, and unbeatable prices!
Junie Modlin

Upload Your DTF Gang Sheet
Loved
Loved the quality. It was also ready for pickup so quick
Evalydi Rodriguez
BUILD YOUR UV DTF STICKER GANG SHEET