


7 artículos


Instrucciones de transferencia DTF: una guía completa para una impresión DTF perfecta
Introducción
La impresión directa a película (DTF) es una de las tecnologías de impresión más innovadoras y versátiles disponibles en la actualidad. Ya sea que personalice camisetas, sudaderas, bolsas de tela o incluso zapatos , seguir las instrucciones correctas de transferencia DTF garantiza impresiones vibrantes, resistentes y duraderas .
Mucha gente pregunta: "¿Cómo se hace la transferencia DTF?" o "¿Cuáles son las instrucciones correctas para el prensado DTF?". Comprender las instrucciones de transferencia térmica DTF es crucial para lograr impresiones de alta calidad . En esta guía, explicaremos paso a paso las instrucciones para la transferencia DTF , los mejores ajustes de prensa térmica para DTF y las instrucciones de lavado para que sus diseños luzcan como nuevos.
¿Qué es una transferencia DTF?
La transferencia DTF es un método térmico en el que primero se imprime un diseño sobre una película DTF con una impresora DTF . Posteriormente, se aplica un polvo adhesivo termofusible especial, se cura y se transfiere a tela u otros materiales mediante calor y presión.
¿Por qué elegir la impresión DTF?
✔ Funciona en múltiples tipos de telas : algodón, poliéster, mezclas e incluso cuero.
✔ No requiere deshierbe : a diferencia del vinilo, no es necesario quitar manualmente el exceso de material.
✔ Duradero y flexible : resiste múltiples lavados sin agrietarse ni decolorarse.
✔ Impresiones a todo color y de alta resolución : captura degradados y pequeños detalles.
Para obtener una explicación más técnica sobre la impresión por transferencia de calor , consulte este artículo de Wikipedia sobre impresión por transferencia de calor .
Instrucciones paso a paso para transferencias DTF
1. Prepara tu diseño
- Asegúrese de que la ilustración tenga alta resolución (300 DPI o más) para obtener una impresión nítida .
- Utilice el modo de color CMYK para obtener colores precisos en la impresión final.
- Refleje el diseño antes de imprimirlo en la película DTF .
2. Imprimir en película DTF
- Cargue la película DTF en su impresora DTF .
- Imprima primero la capa base blanca .
- Imprima la capa de color superior para obtener una salida a todo color.
3. Aplicar el polvo adhesivo
- Espolvoree el polvo adhesivo termofusible DTF uniformemente sobre la impresión húmeda.
- Sacuda el exceso de polvo.
- Asegúrese de que el polvo esté distribuido uniformemente para lograr una fuerte adhesión .
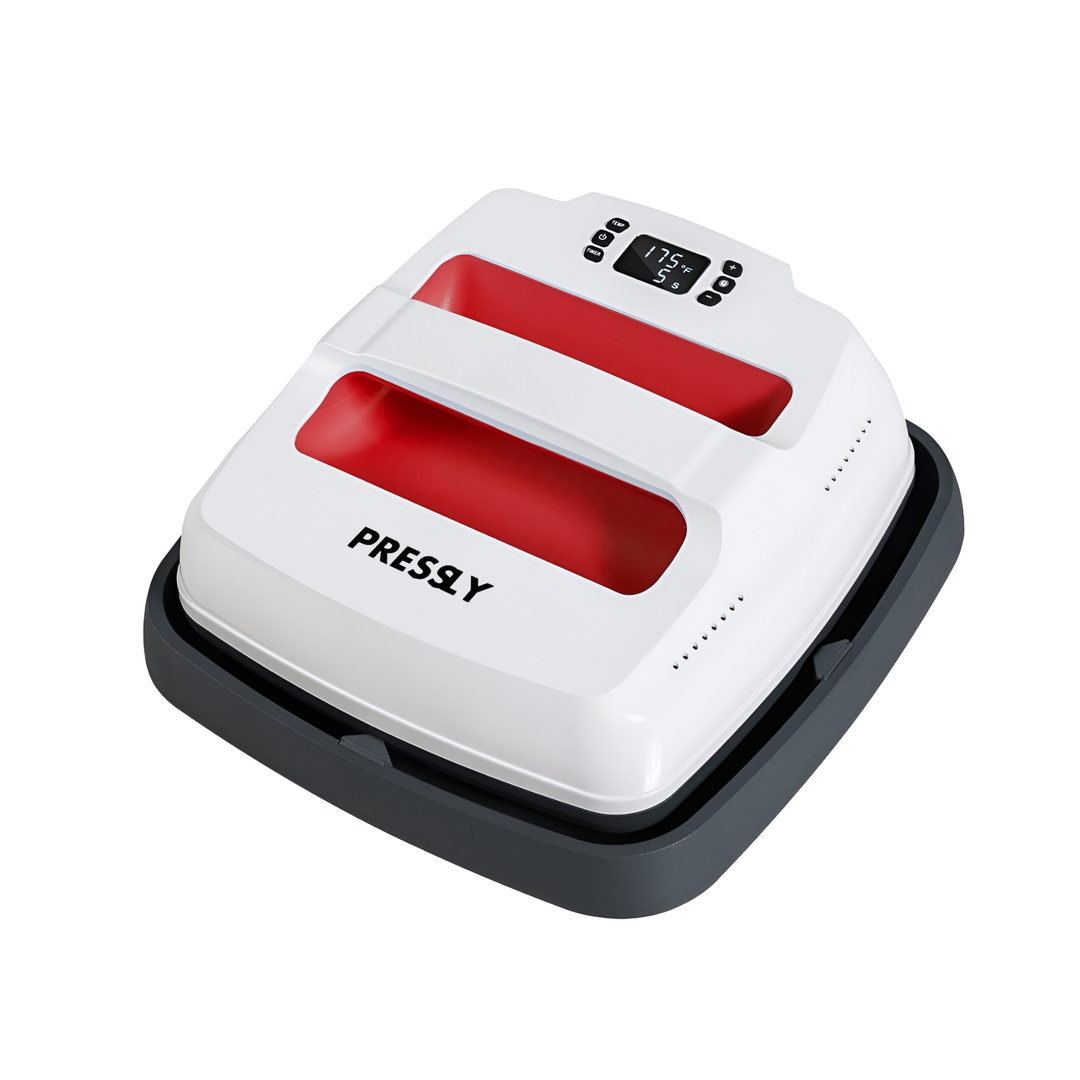
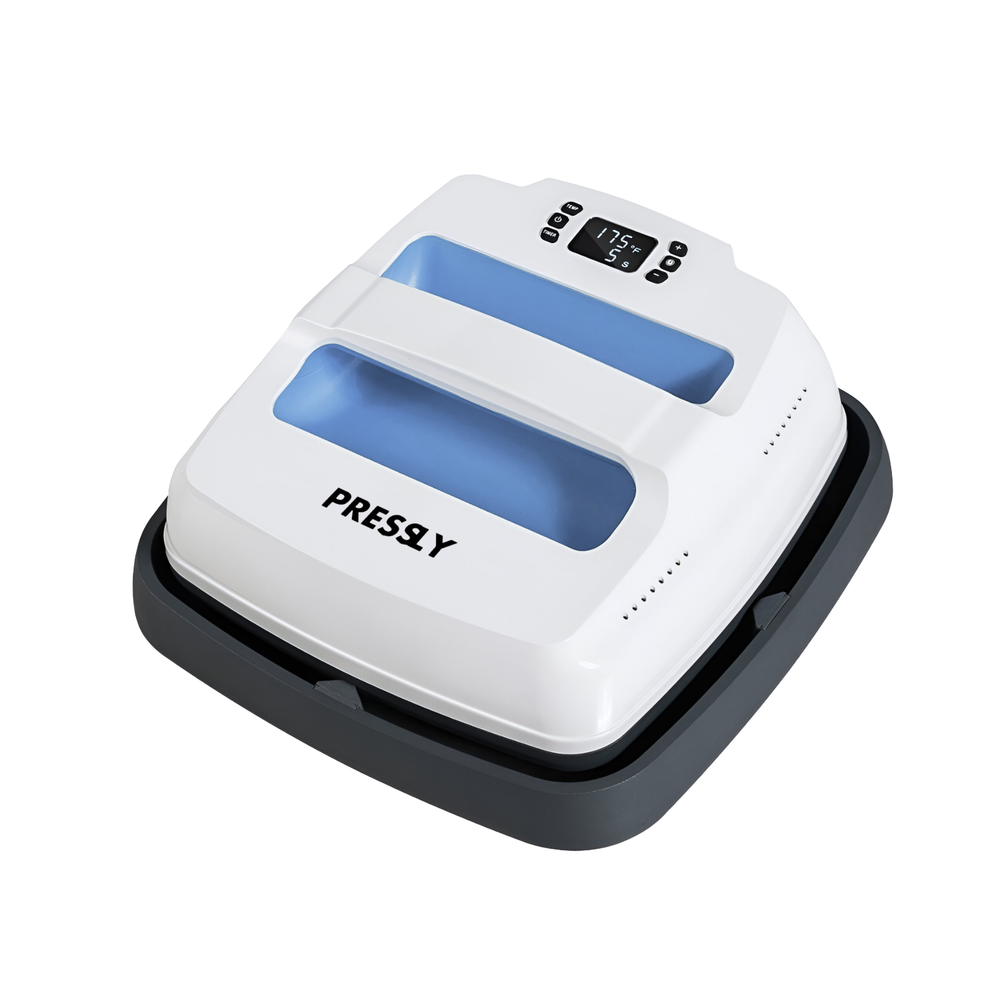
4. Curar la transferencia
- Coloque la película DTF en un horno de curado o debajo de una prensa térmica.
- Temperatura de curado: 250°F - 280°F (120°C - 140°C).
- Tiempo de curado: 2-3 minutos o hasta que el polvo adhesivo se derrita por completo.
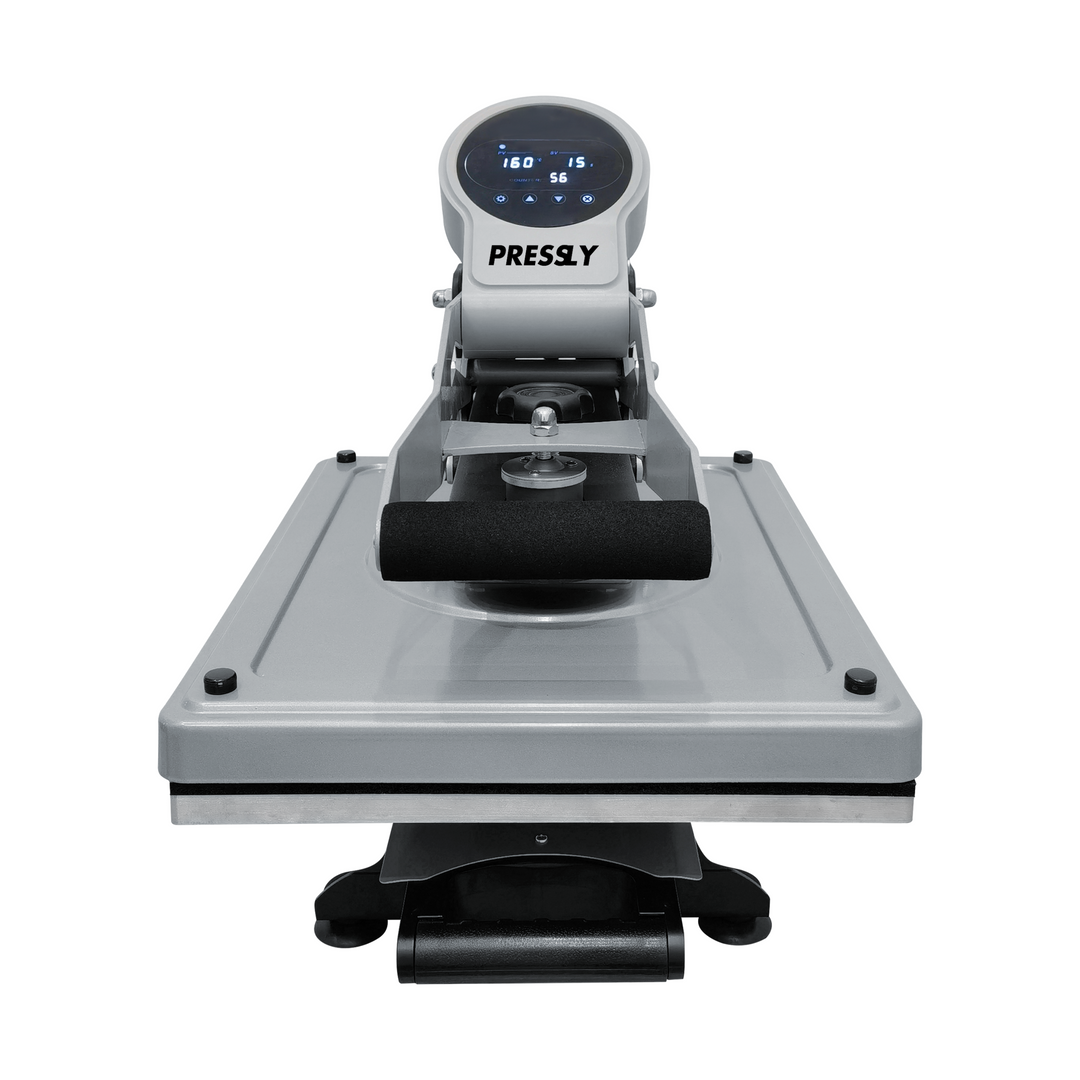
5. Aplique la transferencia DTF con una prensa térmica
- Establezca la configuración correcta de la prensa térmica para DTF :
- Temperatura: 320°F - 350°F (160°C - 180°C).
- Presión: Media a firme.
- Tiempo: 10-15 segundos.
- Coloque la película de transferencia DTF sobre la tela con el lado impreso hacia abajo .
- Presione la prensa térmica firmemente .
6. Despegue la película de transferencia
- Deje que la impresión se enfríe antes de despegarla. (Se recomienda despegarla en frío para una mejor adhesión).
- Retire lentamente la película DTF para revelar el diseño final.
7. Post-prensado para mayor durabilidad
- Coloque una hoja de teflón o papel pergamino sobre el diseño.
- Presione nuevamente durante 5 a 10 segundos para mejorar la durabilidad.
Configuración de la prensa térmica para transferencias DTF
| Material | Temperatura (°F) | Presión | Tiempo (Segundos) | Tipo de pelado |
|---|---|---|---|---|
| Algodón | 320°F - 350°F | Medianamente firme | 10-15 | Peeling en frío |
| Poliéster | 300°F - 320°F | Medio | 10-12 | Peeling en frío |
| Mezclas | 320°F - 340°F | Medio | 10-15 | Peeling en frío |
| Cuero | 280°F - 300°F | Bajo | 8-10 | Peeling en frío |
Instrucciones de lavado de DTF: Cómo cuidar tus impresiones
Seguir las instrucciones adecuadas de lavado de DTF garantiza que sus impresiones permanezcan vibrantes y sin grietas durante más tiempo.
✔ Lavar del revés – Protege la impresión de la fricción.
✔ Use agua fría : el agua caliente puede debilitar el adhesivo.
✔ Evite el uso de blanqueador o detergentes agresivos : pueden dañar la impresión.
✔ No utilice secadora a alta temperatura : es mejor secarla al aire.
✔ Evite planchar directamente sobre la impresión : utilice un paño protector o dé la vuelta a la prenda.
Errores comunes en las transferencias DTF y cómo solucionarlos
1. La impresión se despega
- Causa: Presión insuficiente o configuración de calor incorrecta.
- Solución: Aumente la presión y vuelva a verificar la configuración de calor.
2. Colores apagados después de la transferencia
- Causa: Tinta de baja calidad o proceso de curado incorrecto.
- Solución: utilice tinta pigmentada de alta calidad y cure adecuadamente la película DTF.
3. La película no se despega correctamente
- Causa: Pelado demasiado pronto o prensado desigual.
- Solución: Espere a que la impresión se enfríe completamente antes de despegarla.
Dónde encontrar las mejores instrucciones y suministros para transferencias DTF
¿Busca instrucciones detalladas para la transferencia DTF y materiales de transferencia de alta calidad ? Descubra Eagle DTF Print para obtener soluciones de impresión expertas:
Instrucciones de transferencia DTF: compre aquí
Si está iniciando un negocio de impresión DTF , invertir en una impresora de transferencia DTF y suministros de calidad puede hacer una gran diferencia en los resultados de su impresión.
Impresión DTF casera vs. compra de transferencias preimpresas
✔ Impresión DTF DIY : ideal para empresas que imprimen al por mayor o diseños personalizados .
✔ Transferencias DTF preimpresas : ideales para pequeñas empresas o personas que necesitan impresiones listas para usar.
Para producciones en masa, invertir en una impresora DTF y suministros es rentable. Sin embargo, si necesita impresiones rápidas en lotes pequeños , comprar transferencias prefabricadas es más conveniente.
Reflexiones finales
Seguir las instrucciones correctas de transferencia DTF es esencial para obtener impresiones vibrantes, duraderas y de calidad profesional . Ya sea que esté iniciando un negocio de impresión DTF o creando ropa personalizada , comprender cómo realizar la transferencia DTF garantiza resultados duraderos .
¿Buscas suministros, impresoras o transferencias profesionales para DTF ? ¡Visita Eagle DTF Print hoy mismo para empezar! 🚀
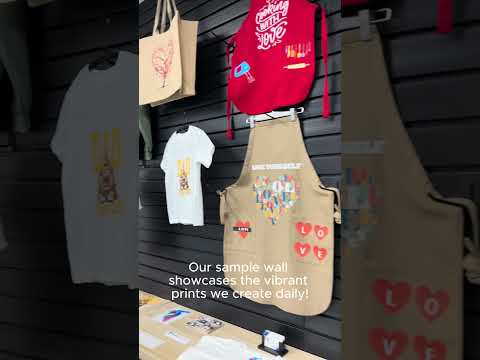
Let customers speak for us
Thrilled to find eagle print
Always impressed with how fast they're printed and the quality.
Aisling Stompor

Build Your DTF Gang Sheet
High quality DTF tags, just make sure to specify your exact dimensions in the notes otherwise it will stretch your artwork
Charlie Lilienthal
Eagle DTF Print
Great experience overall
Great experience overall. The UV DTF gang sheet quality was spot on, prints were clean and vibrant, and everything matched my expectations. Fast turnaround and easy process. I’ll definitely be coming back for more.sposób.
Sebastian @Rapid Truck Signs
Sebastian Waalczak

BUILD YOUR UV DTF STICKER GANG SHEET
Loved my gang sheet! Great quality
Loved my gang sheet! Great quality, everything I could ask for!
T.C. Carruthers
Build Your DTF Gang Sheet
Amazing service
I could not be more impressed with the customer service and super fast turnaround. I would definitely order from Eagle again.
Mark

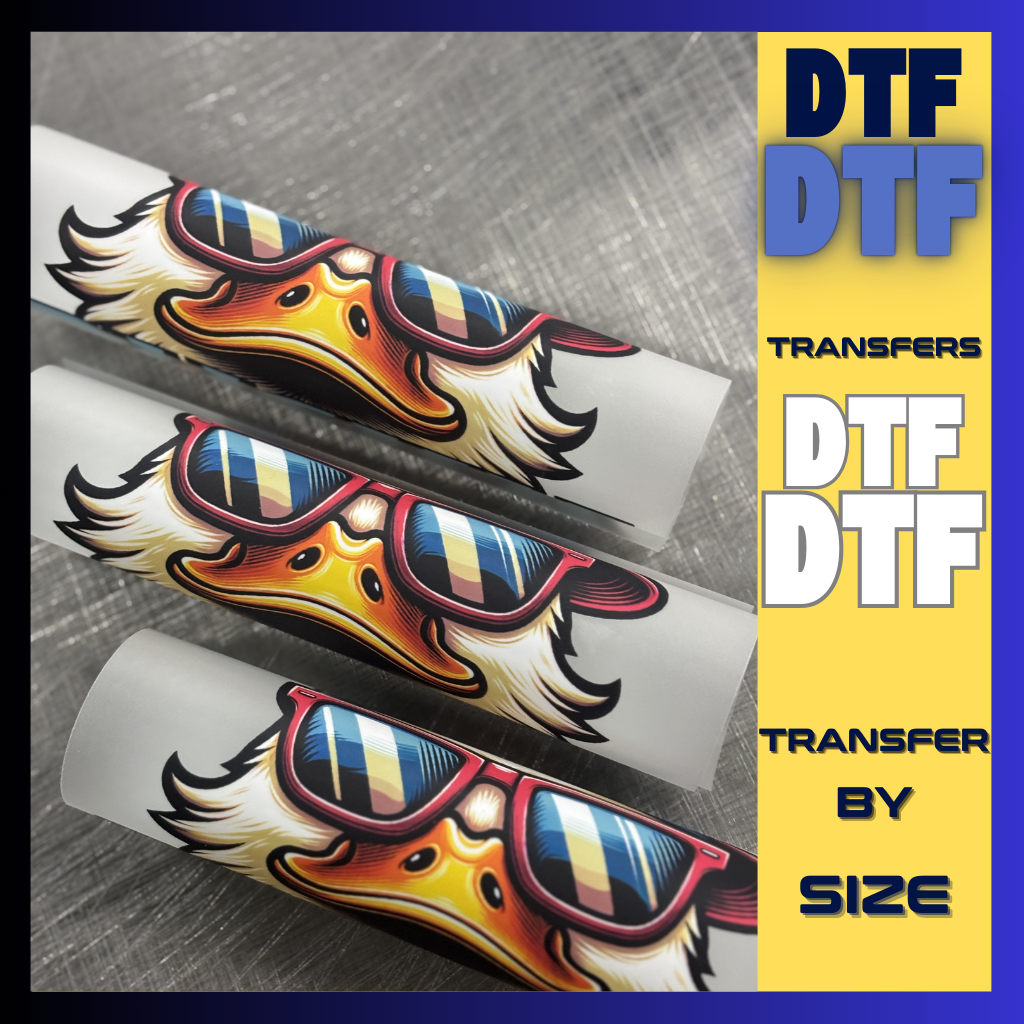
DTF Transfer By Size
Hello I love the quality and the speedy
Hello I love the quality and the speedy response!
Rochelle Harper
Build Your DTF Gang Sheet
Great quality
Great quality, quick shipping, and unbeatable prices!
Junie Modlin

Upload Your DTF Gang Sheet
Loved
Loved the quality. It was also ready for pickup so quick
Evalydi Rodriguez
BUILD YOUR UV DTF STICKER GANG SHEET